

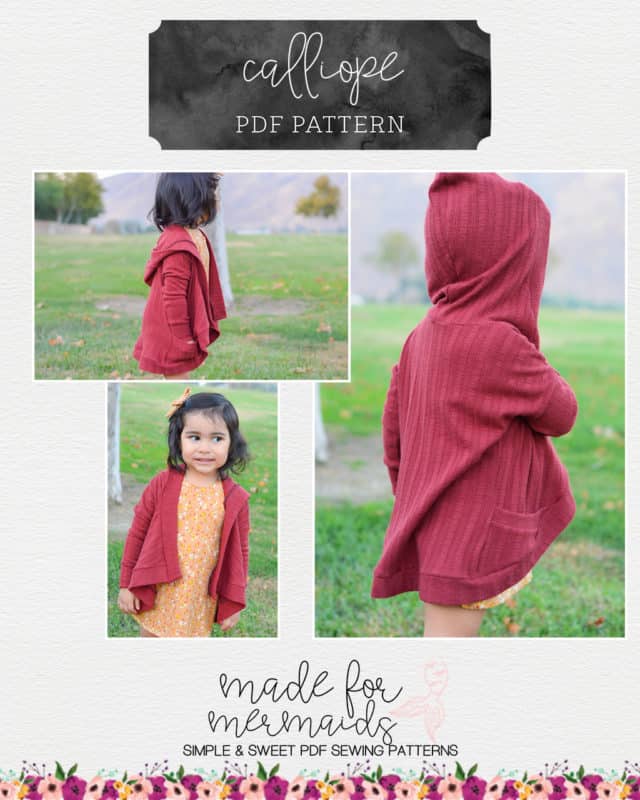
Today’s steps include either a hood or a neckband. In the video, I’ll be attaching a banded hood. The neckband option will be a little less involved, and there are full photos in the written pattern tutorial if you do get stuck.

Don’t forget:
- stretch/ease the band where needed; do not stretch the garment
- seam allowance is included on pattern pieces; be sure to take the full seam allowance, especially if you’re using a serger.
- if you’re using fabric with less than the recommended stretch, you may have bunching along the neckline
- be sure to quarter your neckline/bands evenly; this will give you the best result
Want to sew along with me? Check out today’s video!
If you have questions about either hoods or neckbands, you are always welcome to post in our SAL group so we can help you! Be sure to check in each day during the SAL, and look for daily posts to enter our giveaways. We can’t wait to see what you create this week!

DAY 1: CUTTING + PREP
DAY 2: SHOULDER SEAMS + SLEEVES
DAY 3: POCKETS + SIDE SEAMS
DAY 4: HOOD or NECKBAND
DAY 5: BAND
OUR SPONSORS:
Be sure to visit our friends at Raspberry Creek Fabrics – they have SO many gorgeous prints and fabrics to choose from.
Leave a Reply